If you are intrigued by the new zinnias being bred by small farmers, consider getting into the zinnia breeding game yourself. It’s easy to develop your own signature zinnia — really! All you need is a little technical know-how and lots of time and patience.
There are two paths to the goal of creating a new zinnia, and I’m going to address them separately. I assume here that my readers don’t have plant breeding backgrounds, so I’ll avoid technical terms. This is a brief synopsis of the process; see Zinnia Breeding Resources to learn more.
- Selecting and seed saving
The first scenario is for people who already grow a lot of zinnias. It’s not uncommon to find a flower that is unusual for the type you planted. It might be a different color or a bicolor, have irridescent petals, or an unusual form. It might be the only plant in the field that didn’t get powdery mildew (If that ever happens, be sure to save it!) When I was a commercial flower grower, I would often find a pleasing off-type, such as a pale yellow bloom in a patch of bright gold, or a pink with a purple sheen in the center. At the time, I admired these exceptions but didn’t know enough to preserve them.
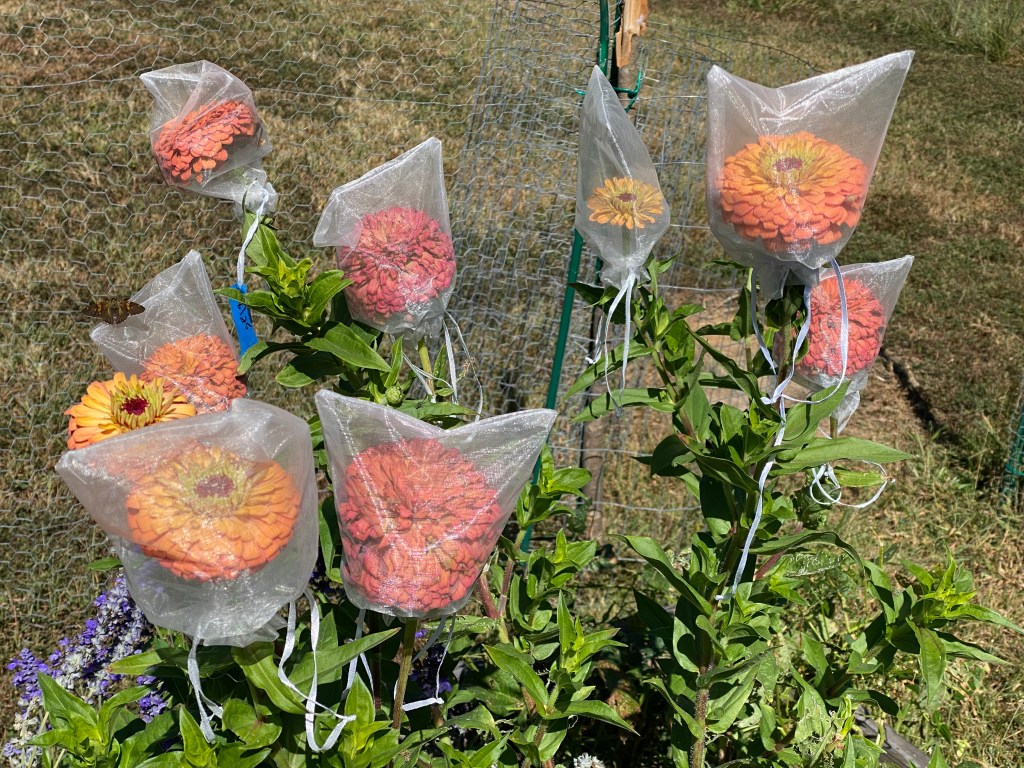
When you find something special, you need to immediately isolate it so that you can control pollination. The isolation distance for zinnias is believed to be a quarter mile, meaning that your zinnias can be pollinated by any other zinnias growing within that distance.
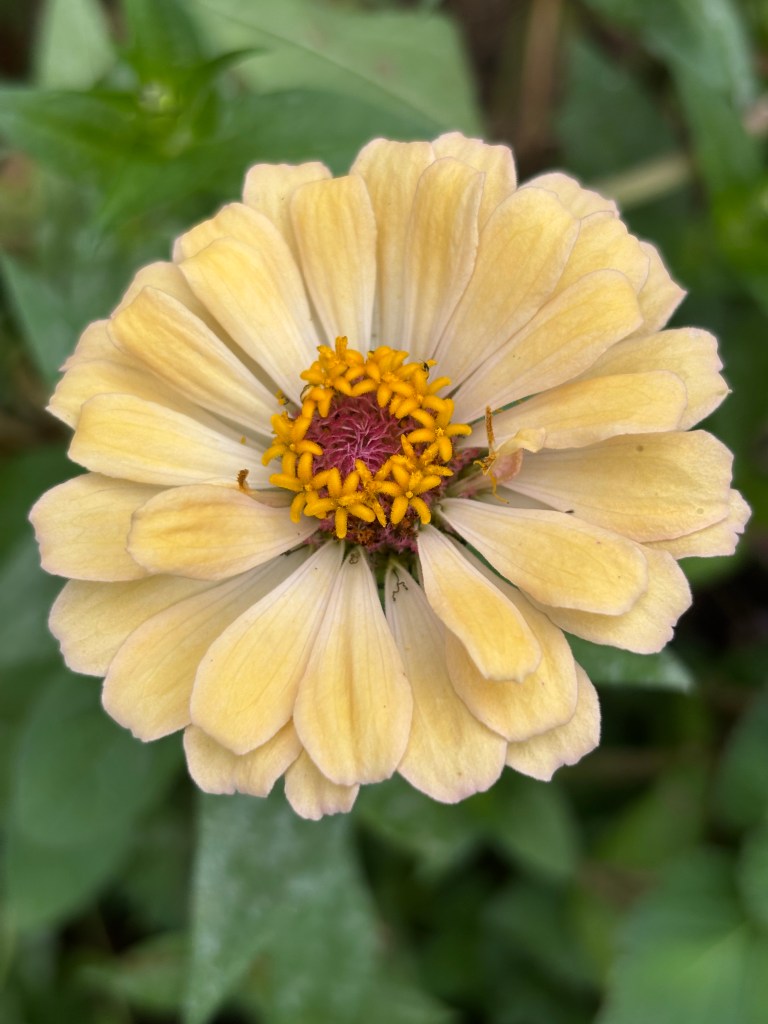
That first flower is likely to have been pollinated already, so leave it and find buds that haven’t opened yet. Cover them with organza bags, (sold as gift, jewelry, or fruit bags on Amazon), at least 6 x 8 inches. Tie each bag tightly enough that insects can’t get inside, but loosely enough for the stem to grow and the flower to unfurl. Watch for the bagged flowers to develop disc florets, the yellow star-shaped structures at the center of the bloom. That’s where pollen will appear, usually by mid-morning each day. When you see the powdery yellow pollen, transfer it with an artist’s painbrush onto the stigmas (the wispy, y-shaped structures between layers of petals) of the same or nearby flowers. If you happen to have more than one plant with the characteristics you like, so much the better. Move pollen from the flowers on one plant to the flowers on another.
Replace the organza bags and repeat the process every day for a week to increase your chances of getting viable seeds.
When you are finished hand pollinating, leave the bags on the flowers and let them dry on the plant. When the blooms turn dry and brown, snip them off and bring them inside. Store them in paper bags or baskets to finish drying. Cut back the petals, remove the seeds, and put the hard, filled-out seeds in an envelope and store them in a dark, dry place until next year.
Year 2 is the critical year for developing your selection. Plant as many of the saved seeds as you possibly can. You are going to see the most variations in this generation, and you want to be able to choose the best. Once everything has bloomed, select the plants with flowers most similar to Year 1 and put bags over buds as you did the previous year. With luck, you will have more than one plant with your desired characteristics. Instead of self pollinating, move pollen between the similar plants. Zinnias are outcrossers, which means they will do best when crossed with other plants.
You might find other plants with completely different flowers that you like, which can start you developing your next selection. Just follow the process outlined above for Year 1.
Here is the most important advice I have to offer: Keep great records. Mark the plants themselves with tags or flagging tape and write the description with a garden marker. (A Sharpie marker is not permanent in a sunny garden!) Take a photo at the same time. On each bagged bloom, note whether it is the pollen donor or recipient — the pollen parent or seed parent. Record a narrative or video of what you have done. Write it down in a designated notebook. This may seem like overkill, but, trust me, you will appreciate your diligence five or six years into the breeding process!
2. Crossing to achieve a goal
The second scenario is for growers who want to create a very particular type of zinnia that doesn’t yet exist. Maybe you want a cactus flowered version of a dahlia-flowered strain, or you want bigger blooms, or a bicolor. Identify your goal, then seek out cultivars that are closest to the desired look.
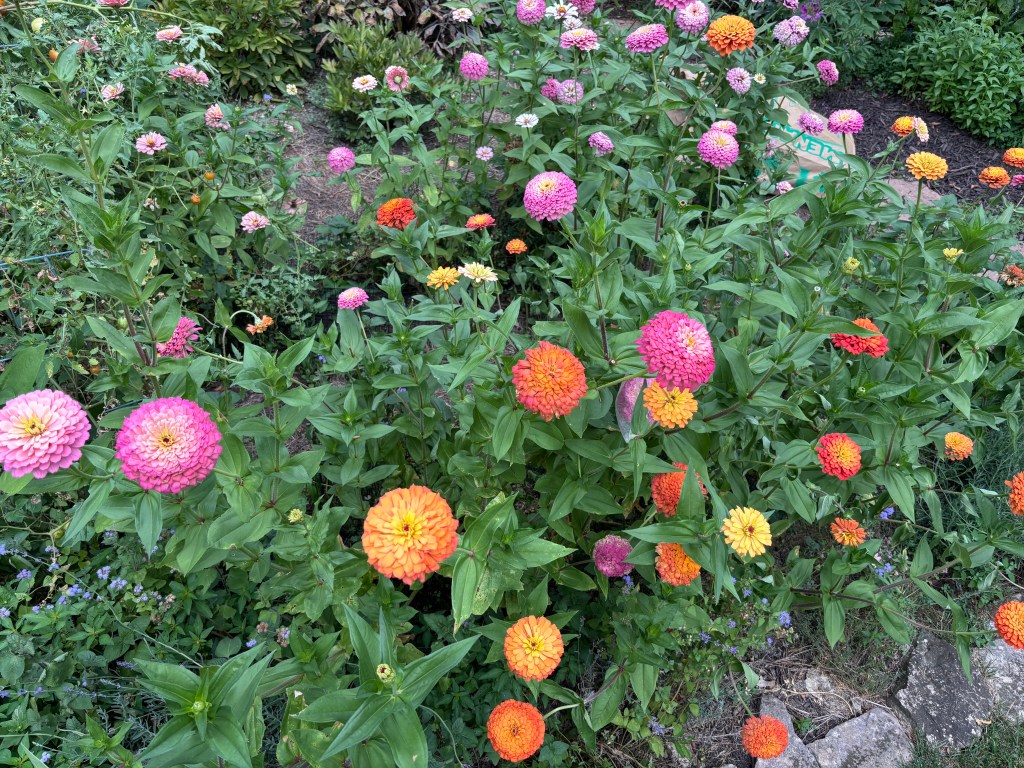
There are dozens of named cultivars and mixes available and you can start researching them at the Seed Supplier links. You want to look for Open Pollinated (OP) zinnias, rather than F1 hybrids. And you want to grow only seeds of the same species of Zinnia. The big, tall zinnias are Zinnia elegans. The short, bedding type are other species and generally speaking cannot be crossed with Z. elegans. Choose a few mixes with the colors and shapes you like. Most OP mixes are very inexpensive seeds, and if you grow enough you are sure to find some unusual variations that you like and want to save.
Grow some of the new zinnia mixes to immediately introduce interesting genetics into your breeding line — unusual colors, bicolors, iridescent petals, and so on. Check out “Modern Breeders” in the Resource list and get on their email lists to hear about upcoming sales. Most of these people have very limited supplies, and they sell out fast so be prepared to jump when you hear of a sale. At this writing, some of these privately developed seeds will cost you $30-$40 and they are in very limited supply. To be clear, you cannot just grow these seeds and claim them as your own, especially for resale. But you can use them to make crosses with other OP zinnias and thereby begin to develop your own strain. Several other new zinnia varieties are priced at standard seed prices — my Prairie Peach, Johnny’s new selections, and the very interesting mixes from Wild Garden Seed. See the Resources article.
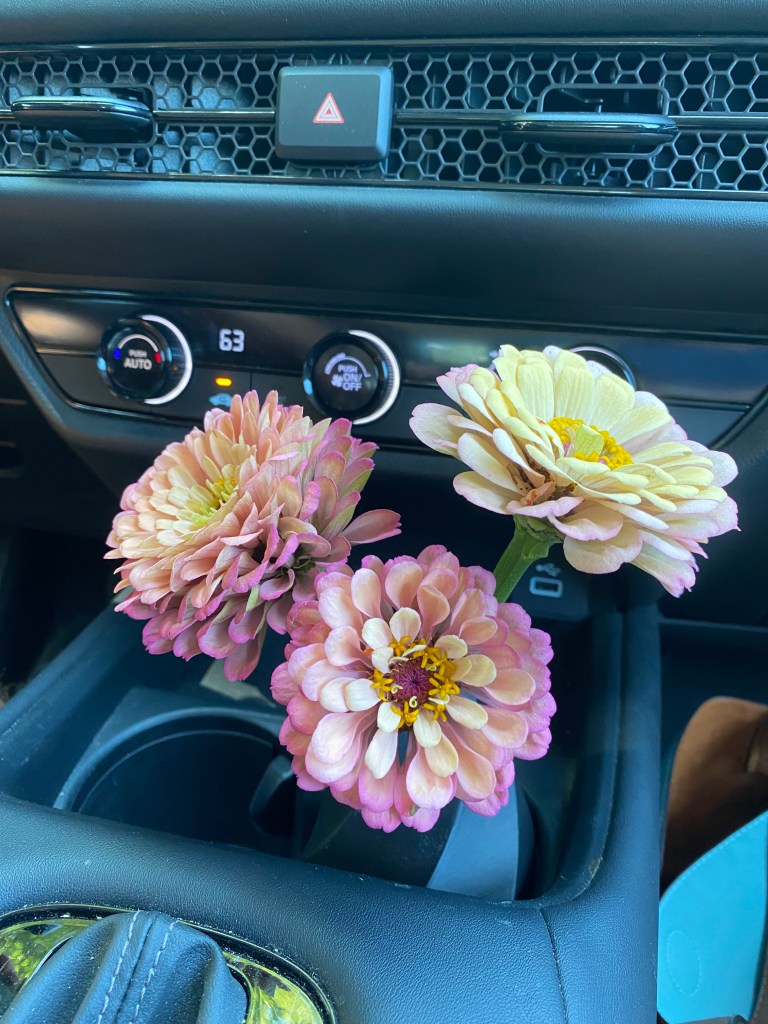
Identify the blooms you want to cross, and choose one to be the seed parent. Bag the buds on that plant. When the other selection starts to produce pollen, you can follow the procedure described above — using a paintbrush to move pollen to the stigmas on the blooms in the bags. The zinnias don’t have to be in proximity when you are hand pollinating. I have actually had great success pollinating from a few cut flowers given to me by a friend and transported to my farm in a glass of water.
You will probably want to make several different crosses early in the breeding process. Be sure to record your work in detail, as mentioned above.
Pollinated flowers develop seeds in about a month, so you can continue to bag flowers and hand pollinate them most of your frost-free season. As the bagged flowers die, cut them off and bring them inside to finish drying. Put a label inside the bag describing the cross, using the same format you used on the plant tag outside.
In winter, you can pull apart your dried flower heads and extract the seeds. Hard seeds are viable, flexible seeds are not. With practice, you will be able to sprinkle the seeds on a plate or piece of paper and know by the sound whether you have viable seeds. Put the seeds in an envelope, again marked with the same information. Store them in an airtight container in a cool but not refrigerated space. The next year, grow them according to the procedure outlined for Year 2 in the first section above.
Years 3 and onward
Each year, plant your saved seeds. When the plants bloom, remove any off types. Over the next few years, you will see an increasing percentage of plants with the flowers you have selected. When you have had two seasons of almost every plant producing the desired characteristics, you can consider the selection to be stable. From there, it’s up to you whether you keep it for yourself or multiply the seed and sell it.
See also:
The story of Zinnia Prairie Peach
Zinnia Breeding Resources

Leave a comment